Introduction
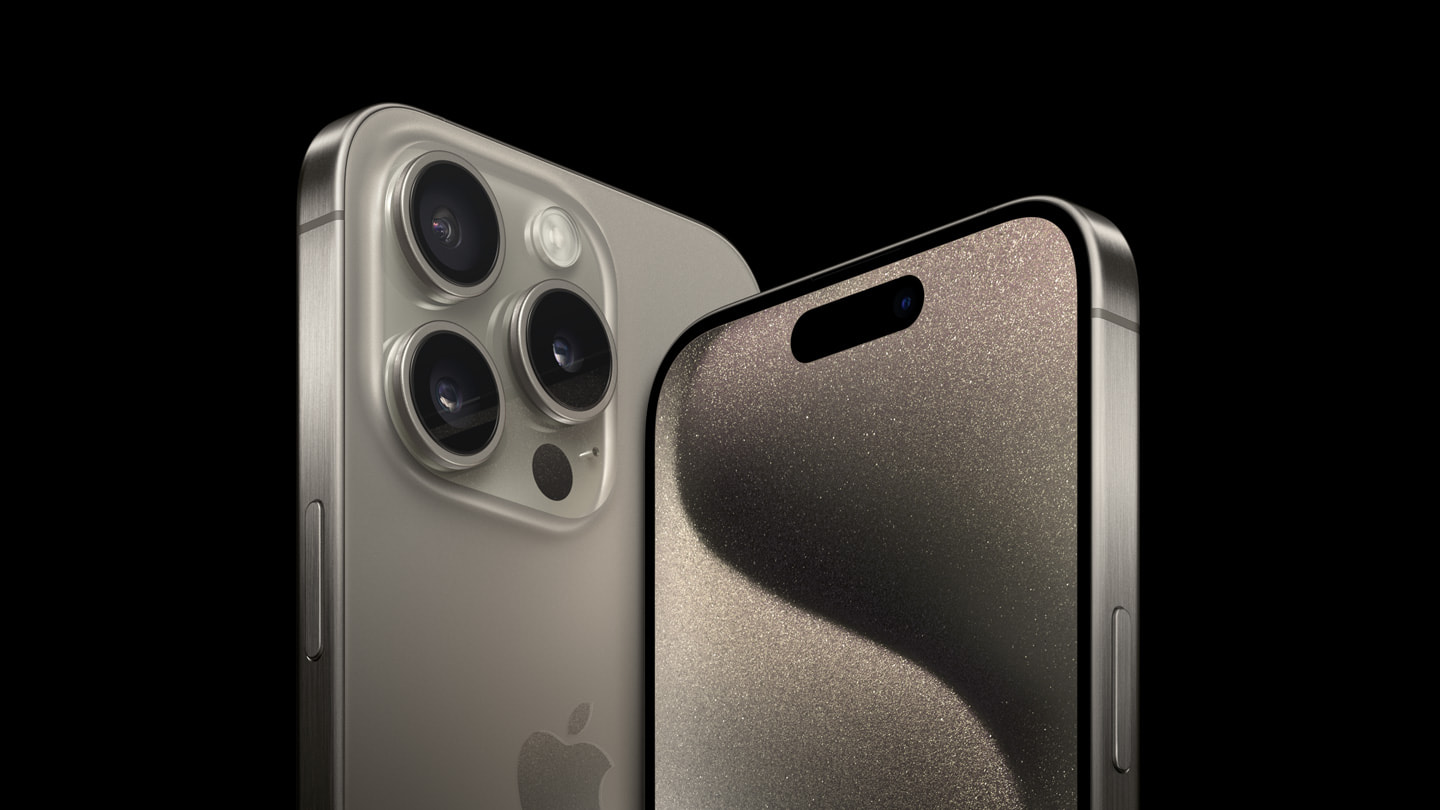
With each new iPhone release, Apple’s camera technology keeps raising the bar, making it possible to capture pro-level images right from your pocket. The iPhone has become one of the most powerful tools for photographers and hobbyists alike, offering features like Night Mode, ProRAW, and Smart HDR that make capturing high-quality photos easy and intuitive. In this guide, we’ll explore how to unlock the full potential of your iPhone Photography camera, covering everything from essential tips to the latest photography advancements in Apple’s newest models.
1. iPhone Photography Features That Make a Difference
A. ProRAW and RAW Formats
ProRAW, available on iPhone Pro models, is a standout feature for photography enthusiasts. Combining the flexibility of RAW with Apple’s computational photography, it provides a high degree of control over edits without losing quality.
- Advantages: ProRAW captures more detail in highlights and shadows, making it ideal for complex lighting conditions. Photographers can adjust exposure, color balance, and more in post-processing.
- How to Use It: Activate ProRAW in the camera settings and access editing options in the Photos app or third-party apps like Lightroom.
B. Night Mode for Low-Light Excellence
Apple’s Night Mode allows users to take sharp, detailed images in low-light conditions by using a long exposure time.
- Features: Night Mode activates automatically in dim lighting, brightening scenes without washing out details. Users can adjust exposure time for more control.
- Practical Tips: Hold your iPhone steady, or use a tripod for best results. Look for stationary subjects to avoid motion blur during long exposures.
C. Smart HDR 4 for Balanced Lighting
Smart HDR 4 enhances photos by optimizing lighting across faces, highlights, and shadows. It makes it possible to capture dynamic scenes with well-lit, natural-looking subjects.
- How It Works: Smart HDR 4 captures multiple frames and combines them to balance exposure. This is especially useful for scenes with high contrast, like sunsets.
- When to Use It: Use Smart HDR for backlit subjects or outdoor scenes with uneven lighting. It’s enabled by default but can be turned off if needed.
2. Portrait Mode: Perfecting Your Depth of Field
A. Understanding Portrait Mode
Portrait Mode creates a beautiful depth-of-field effect (bokeh), which blurs the background and highlights the subject, adding a professional touch to portraits.
- Lighting Options: Portrait Mode offers various lighting options, like Natural Light, Studio Light, and High-Key Mono, each suited for different moods.
- Practical Tips: Position the subject at least a few feet away from the background for a better effect. Adjust the bokeh intensity by tapping on the subject and using the depth slider.
B. Portrait Mode for Non-Portraits
Portrait Mode isn’t just for people—try it with objects, pets, or plants to create dramatic close-ups with an artistic blur.
- Creative Ideas: Experiment with Portrait Mode to capture macro-style shots of flowers, food, or small objects. The bokeh effect enhances detail by isolating the subject.
3. The Power of AI in iPhone Photography
A. Deep Fusion for Better Texture and Detail
Deep Fusion processes images on a pixel-by-pixel basis, improving textures and reducing noise in medium-light settings.
- How It Works: Deep Fusion activates automatically in low to medium light, capturing multiple frames and merging them for sharpness.
- Best Use Cases: Use it for photos that require detail, such as portraits, landscapes, or objects with intricate textures like clothing or foliage.
B. Photographic Styles for Customized Looks
Photographic Styles let users customize the look of their photos with preset styles, such as Rich Contrast and Vibrant. Unlike filters, these styles adjust tone and color without affecting skin tones.
- Setting Up: Choose your style in the camera app and apply it across all your photos for a consistent look.
- Practical Tips: Experiment with each style to see how it affects different lighting and subjects. Use Vibrant for outdoor shots and Rich Contrast for urban or landscape photography.
4. Tips for Getting the Most Out of Your iPhone Camera
A. Composition Basics
Great photography isn’t just about features—it’s about composition. Follow these basic principles to make your iPhone photos more impactful.
- Rule of Thirds: Enable the grid in your camera settings to divide the frame into thirds, helping you align subjects at the intersections.
- Leading Lines: Look for lines (paths, roads, buildings) that draw the viewer’s eye toward the subject.
- Framing: Use natural frames like windows or tree branches to add depth and interest to your photos.
B. Adjusting Exposure Manually
While the iPhone camera adjusts exposure automatically, manual control can provide better results in challenging lighting.
- How to Adjust: Tap the screen to focus on the subject, then slide up or down on the sun icon to adjust brightness.
- Practical Use: Lower the exposure slightly in bright settings to avoid washed-out details, or raise it in dark environments for more visibility.
C. Leveraging Third-Party Apps for Advanced Edits
While the iPhone’s Photos app is powerful, third-party apps like Lightroom, Snapseed, and VSCO offer advanced editing tools for finer control over your images.
- Editing Options: Use apps for color grading, selective adjustments, and more precise control over exposure and sharpness.
- Pro Tip: Save edited versions rather than overwriting the original photo, allowing you to compare different edits.
5. Apple’s Latest Photography Innovations
A. Sensor-Shift Stabilization
iPhone Pro models feature sensor-shift optical image stabilization (OIS), which stabilizes the camera sensor rather than the lens, improving photo sharpness even in motion.
- How It Works: The sensor shifts in real-time to compensate for hand movements, reducing blur.
- Benefits: Capture stable shots in challenging conditions, such as moving vehicles or windy environments.
B. Cinematic Mode for Video
Cinematic Mode brings depth-of-field effects to video, letting users shift focus dynamically as subjects move.
- Using Cinematic Mode: Available in the camera app, Cinematic Mode automatically tracks focus and adds a movie-like quality to videos.
- Creative Applications: Use Cinematic Mode to create engaging video content, from family moments to professional reels.
6. Common Mistakes to Avoid in iPhone Photography
A. Overusing Zoom
Digital zoom can degrade photo quality. Instead, move closer to your subject when possible to retain clarity and detail.
B. Ignoring Lighting Conditions
Natural lighting makes a significant difference in photo quality. Avoid harsh midday light and experiment with golden hour lighting for soft, warm tones.
C. Relying Too Much on Filters
While filters can enhance a photo, excessive filtering can reduce the natural beauty and detail of the image. Instead, make subtle adjustments to exposure, contrast, and color for a refined look.
7. Future of iPhone Photography
Apple’s dedication to photography innovation continues to grow, with advancements in computational photography, new AI-based features, and potential hardware improvements on the horizon. Users can expect future iPhones to bring even more refined camera capabilities, enabling professional-quality photography that caters to both beginners and experts.
Conclusion
With its advanced camera technology and innovative features, the iPhone has become a powerful tool for capturing memories, artistic shots, and everything in between. Whether you’re a casual snapper or an aspiring photographer, understanding and mastering the iPhone’s camera features can elevate your photos to new heights. By experimenting with features like ProRAW, Night Mode, and Portrait Mode, you’ll discover that pro-level photography is within reach—all with the device in your pocket.

 Cart is empty